![]()

"200Di" diesel conversion - how to do it
Developed
for Series Land Rovers by Glencoyne Engineering
![]()
![]()
![]()
![]()
![]()
![]()
![]()
![]()
![]()
Part 2 - fuel, cooling and exhaust systems
Click here to return to part 1
The fuel system is pretty simple. If you are converting a diesel vehicle you already have almost everything you need. For a petrol vehicle you will need to add a fuel return line - your fuel tank may already have a hole for this (blanked off) so it is just a case of obtaining the correct tank fittings and fuel return line. You will also need a diesel filter - use the one from the donor Discovery. The plumbing is simplicity itself - the feed line goes from the tank to the lift pump on the side of the engine. From the lift pump fuel flows into the filter, and then to the injection pump. The return line goes from the injection pump back to the tank. The arm on the end of the accelerator pedal rod can be connected direct to the injection pump via a plain pushrod or, more elegantly, a ball-jointed rod, as per the photo below.
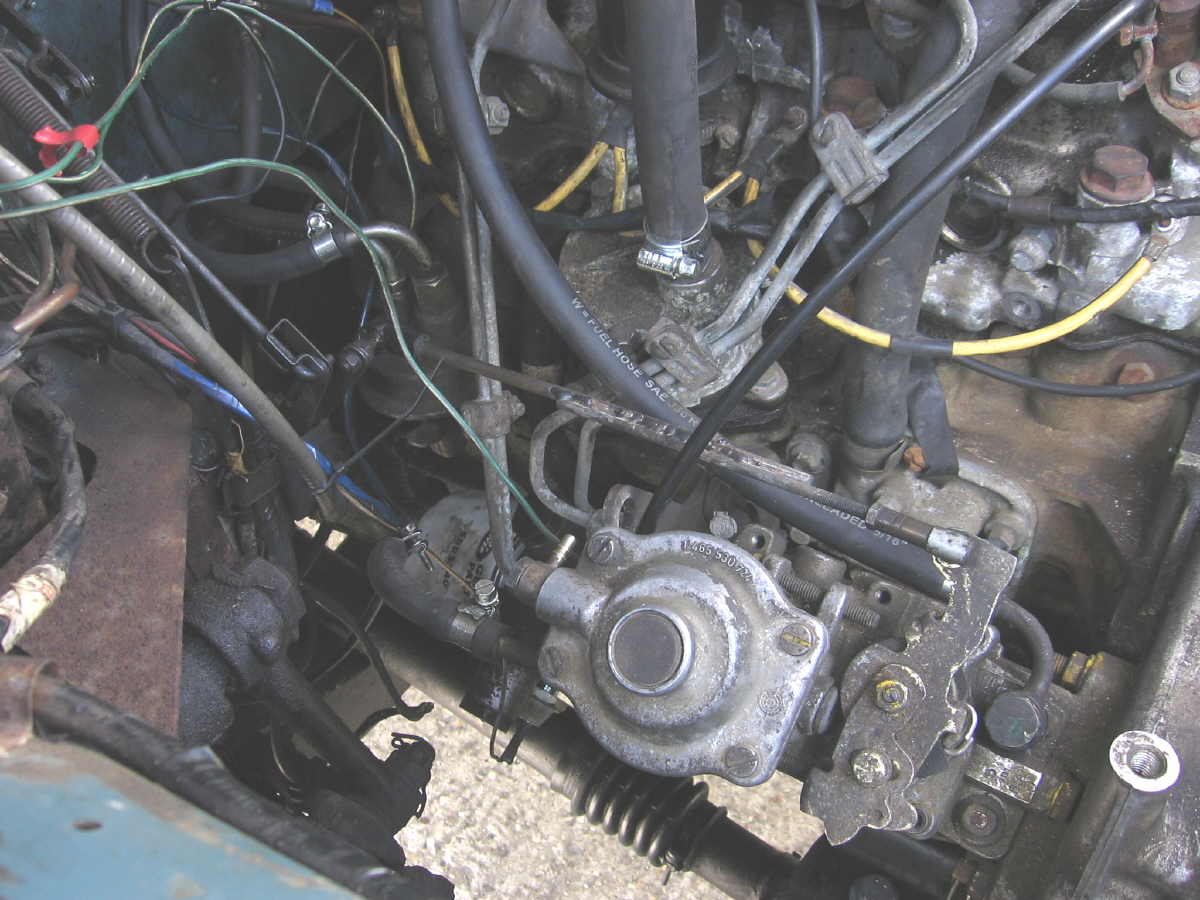
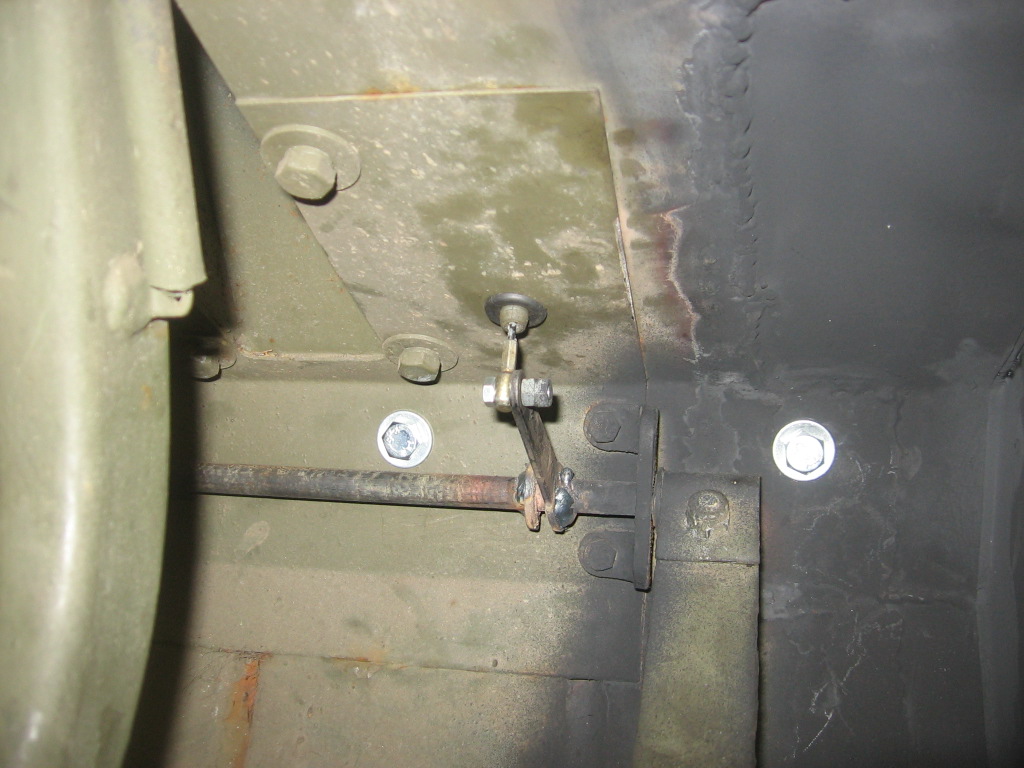
This is by far the simplest way of connecting the throttle, but I have found that the action can be a bit abrupt. On some vehicles (especially with tired springs and shocks, or softish parabolics) it can be hard to avoid 'kangarooing' on bumpy roads. If you have this problem, a cable throttle is not hard to arrange. If converting a late Series 3 diesel with cable throttle, jou will find that a Defender 2.5 NA or TD throttle cable fits straight on, with an M5 bolt and Nyloc to secure the 'pedal' end to the bracket on the bulkhead. The other end fits straight onto the TDi injection pump once you have removed the large steel washer from around the plastic clip. For other vehicles you can weld a throttle crank lever (of which you have a couple spare from the old throttle linkage) to the throttle pedal cross rod, then drill a hole in the upper footwell directly above the end of the crank, fit a rubber grommet, push the end of the cable through the hole and once again secure the end to the crank with an M5 bolt and Nyloc. You have to weld on the crank as there is not enough clearance between the cross rod and the footwell to be able to use the original pinch bolt. Throttle pedal height can be adjusted by loosening the 1/2" nut and bolt which secures the pedal to the cross rod.
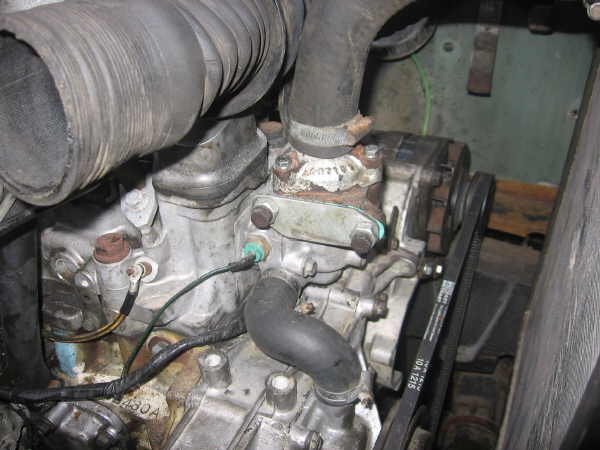
Cooling system - the heater can be connected up using 16mm diameter rubber cooling hose. The 200TDi engine does not have a heater control valve, but this is no big deal. Unless the heater fan is running, a Series 3 heater will put out very little heat into the cabin. The older Series 2 round heater is a different matter, and a Series 2 heater tap will screw into the head in place of the heater pipe stub. You can use the standard Series radiator which is plenty big enough for this engine in non-turbo form. If you salvage the thermostat housing from your old Series engine you can use the standard Series top radiator hose. You will need to blank off the aperture for the bypass elbow with a steel plate (see photo below) and fit the thermostat housing to the head using new gaskets and M6x70 bolts. The housing will hold the Disco thermostat in place in the head.
For the bottom hose you can use a universal flexible hose, 32/38 x 500mm. These used to be available from Halfords, part number HFH215, but my local branch has stopped selling them. If you can find a supplier of Gates hoses, their part number for a 32/38 x 500 Vulcoflex hose is 25305. Alternatively you can make your own bottom hose using Series top and bottom hoses cut up and joined together with steel tube and jubilee clips. This is how I did my first testbed vehicle, and that covered 12,000 miles in my ownership with no problems.
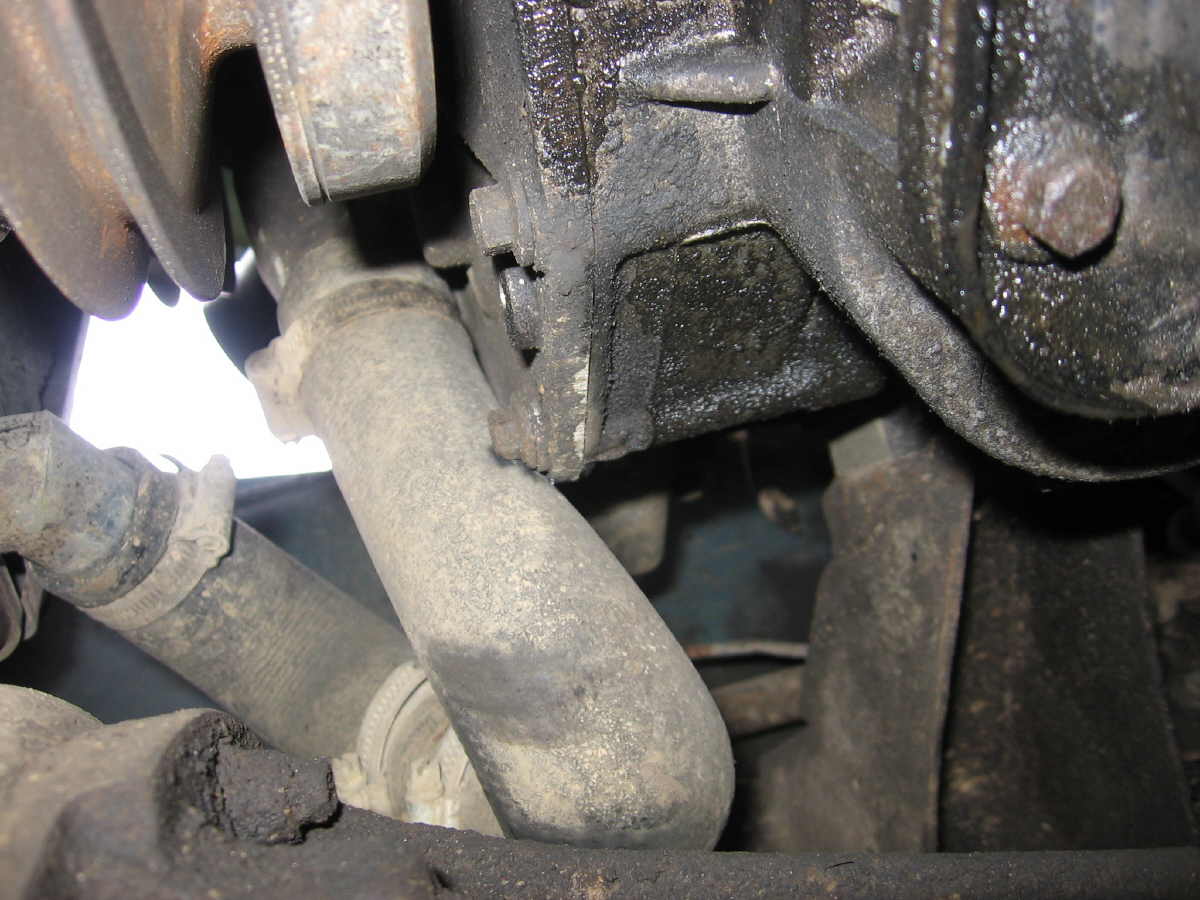
Cooling fan - the Disco fan is in entirely the wrong place and will not fit. In fact, you might as well cut the threaded stub off the end of the water pump and gain a bit more clearance between engine and radiator. There is then plenty of room to fit an electric fan, BUT... I have never once had to use mine. Not even in a 3 mile traffic jam, in hot weather, towing a trailer. So unless you live in central London or are planning to use your vehicle to tow heavy trailers up long steep hills, you probably don't need a cooling fan at all. These engines, connected to a Series radiator, run very cool - almost too cool. In winter, a radiator muff would probably be a good idea, although I haven't yet tried one on mine.

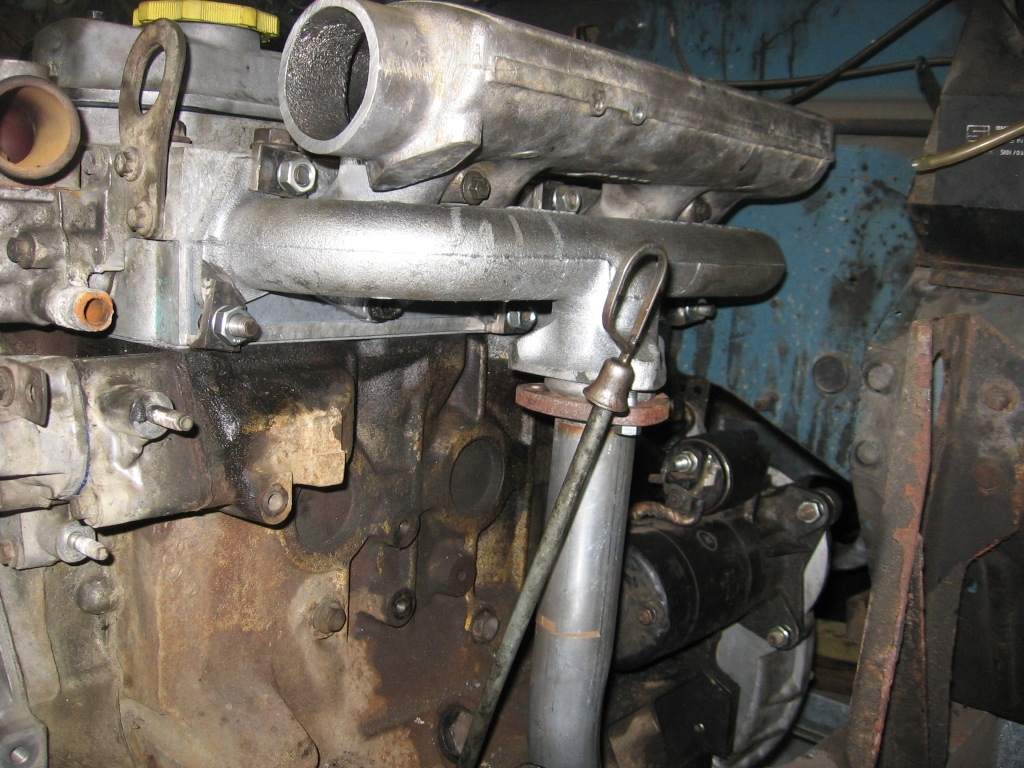
Exhaust. This is the area that has given me most problems. I started out using a fabricated front pipe, connected to the Discovery exhaust manifold using either a special laser cut flange (for my own conversions), or the mounting flange cut off the old turbo, as per the photo below (seemed at the time like the quickest and easiest DIY route).
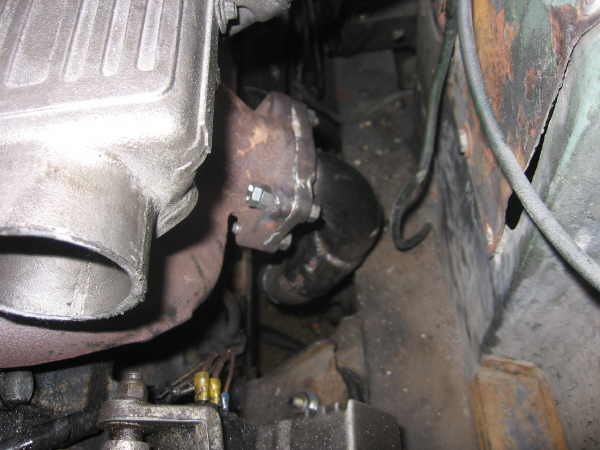
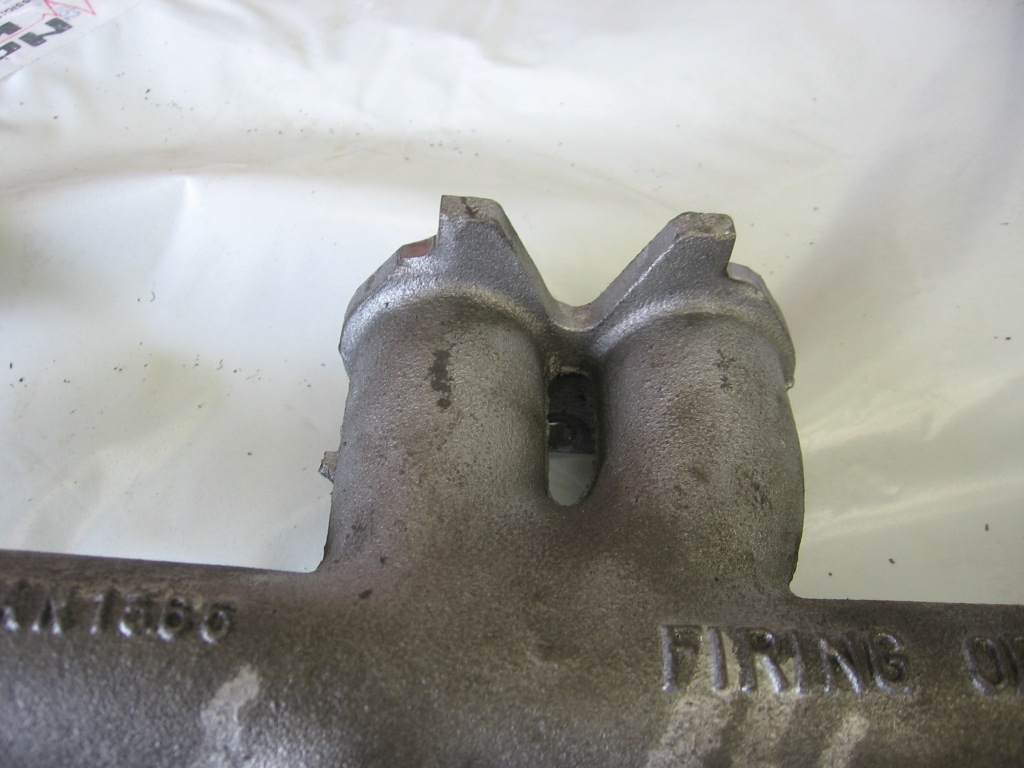
This had several disadvantages - firstly, the need to be able to weld. Also, if you have ever tried to unbolt a turbo from a Disco manifold you will know that even with lots of heat it is very difficult to avoid snapping the studs. And I never liked the idea of cutting up a perfectly good turbo for a mounting flange. So I had another look at the problem, and found that the port spacing on a late Series 3 diesel manifold (3-bolt type) almost exactly matches the 200TDi head. All the mounting lugs and holes are in the wrong places, but we will deal with that in a minute. The dipstick also gets in the way - you can turn it through 180 degrees, bend it slightly and then bend the upper clamp, and it will still bolt to the inlet manifold as before. Or else use a dipstick assembly from a 2.5 diesel (pre TDi).
Just one problem - since I first posted this information the 3-bolt Series manifold (598104) has become almost impossible to find unless you fancy paying £200 for a Genuine one. You will find that an early 2.5 diesel manifold (ERC9688) is almost the same, but the downpipe studs are larger and further apart.
So take a Series (or 2.5) manifold and firstly shave about 2mm off the bottom edge of the lower three mounting lugs. You need to take off just enough for the ports to match vertically. Now offer up the manifold to the head (make sure all the studs are in place on the head), centre it and mark the two upper centre lugs where they foul the studs. Trim away the excess metal a little bit at a time, and you should end up with a manifold which fits snugly between the studs and cannot move either horizontally or vertically.

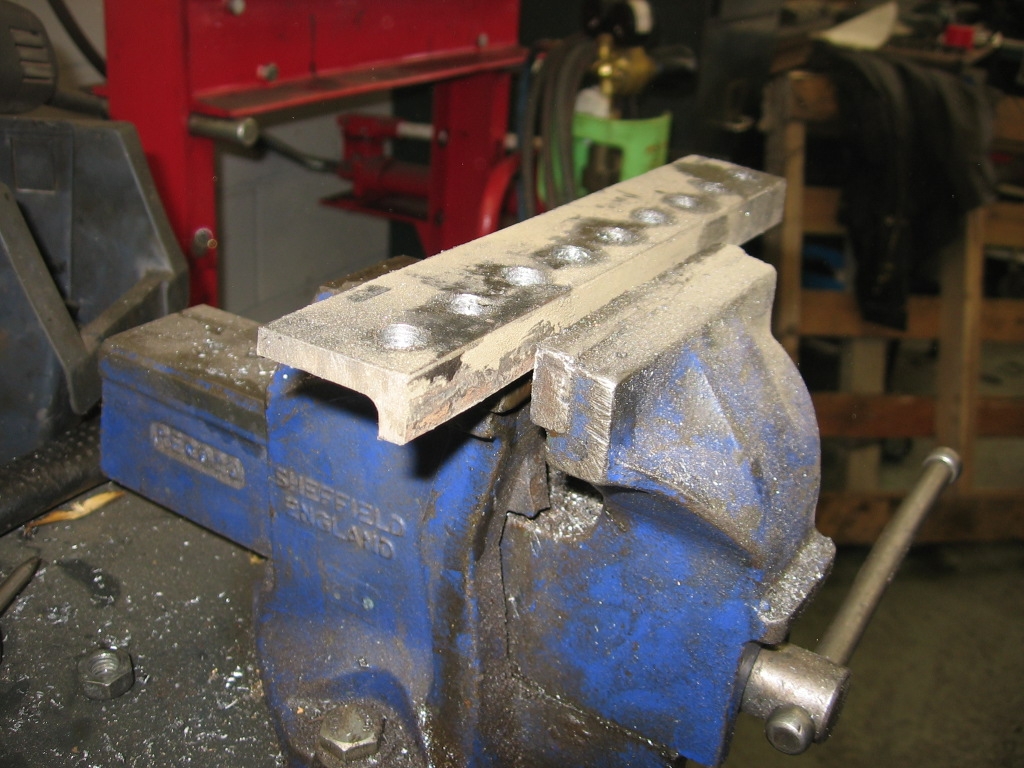
Now we have to find a way to clamp the manifold to the head. The Series manifold uses cast clamps along its upper edge and three studs on the lower edge. You could I suppose drill and tap the TDi head for the lower three studs, but there look to be some water passages pretty close to where the holes would be, so I don't much fancy this route. Instead I made up some strong L-shaped clamps. I used an offcut of angle steel about 7mm thick, and you don't really want anything less substantial. I drilled 11mm holes at 22mm spacings, with the centres around 13mm from the angle edge, then trimmed the angle section back to a strip 33mm by 15mm as per the photo below. Finally, using a thin cutting disc in an angle grinder I cut the clamps off the strip. You will need seven, plus a couple of spares just in case you lose one.
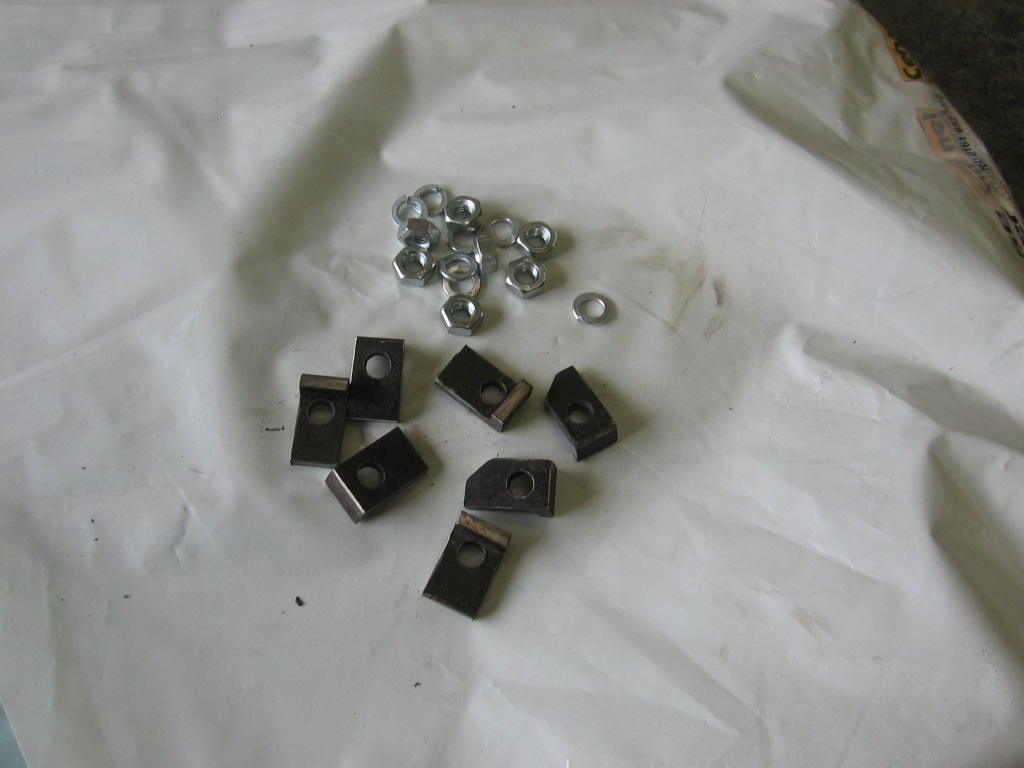
Now fit the manifolds. If you have a die grinder you might feel it is worthwhile to port match the Series manifold to the TDi head - the manifold ports are slightly smaller than the head ports and you might get some benefit from radiusing them. I would not regard this as essential though. The inlet manifold has a narrowed end which I cut off with a disc cutter to avoid restricting air flow. Make sure you clean out any metal filings afterwards. Take a new manifold gasket, smear a little assembly paste round both sides of the exhaust ports, then fit the gasket followed by the inlet manifold. Now fit the exhaust manifold using your clamps, M10 nuts and spring washers. You will have to trim a couple of the clamps to fit, and grind or file the lower lugs so that the clamps seat nice and flat. Tighten the nuts evenly and progressively, then simply bolt a Series 3 diesel exhaust downpipe to your existing exhaust centre section. and do up the downpipe nuts. If you are using a 2.5 manifold you will need to enlarge the holes in the downpipe flange into slots and use M10 flange nuts, or else you can weld the top end of a 2.5 diesel downpipe to your Series 3 downpipe. But we are trying to avoid welding, I have done several conversions using the slot and flange nut method and I haven't heard of one falling off yet. Fire it up and check for leaks.
There is one exception here - if you have a 109 diesel with the side-exit exhaust manifold, you will probably have to change the complete exhaust for a 109 petrol system, but with a late S3 diesel downpipe.
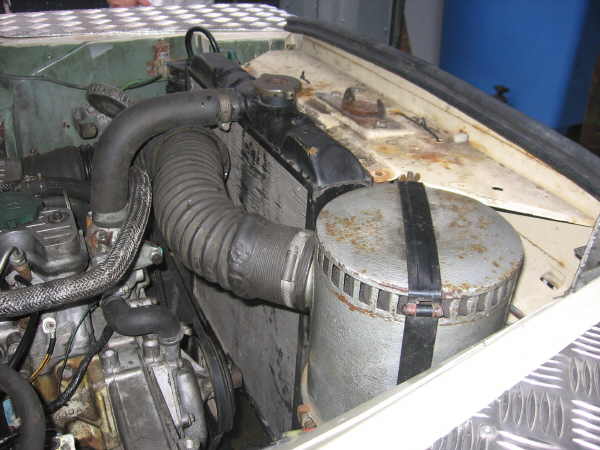
Finally there is the air filter to deal with. After trying various systems I now use the Series air cleaner with a flexible hose from a diesel Series vehicle. Cut the air cleaner holder off its mounting bracket, grind the underside flat and secure it to the cut down battery tray with countersunk screws and nuts. Make sure the holder is positioned so that the air cleaner does not foul the bonnet prop, and that the hose can reach the air intake without being put under too much stress. The crankcase breather hose can be connected to the inlet manifold - there is a blanking bolt which you can unscrew, and the Disco breather hose will then clamp onto the stub using a jubilee clip. A few very late Disco engines are missing this blanking plug but the cast boss is still there, so you will have to drill through it. Do this before fitting the inlet manifold and make sure you clean out all the metal swarf.
******************************************************************
I think that's about it. You should now have your very own 200Di. I will add to these notes from time to time, and I would be very pleased to hear from anyone who attempts this conversion, and will try to incorporate feedback into these pages. I have put together a FAQ page (Frequently Asked Questions) on which I have tried to answer some of the most common queries - click here to read it.